Registering a License Key in CodeStencil
Thank you for choosing CodeStencil! This guide is designed to assist you in the process of registering your license key to ensure smooth and uninterrupted access to the full features and functionalities of the application.
Step 1: Accessing the Homepage
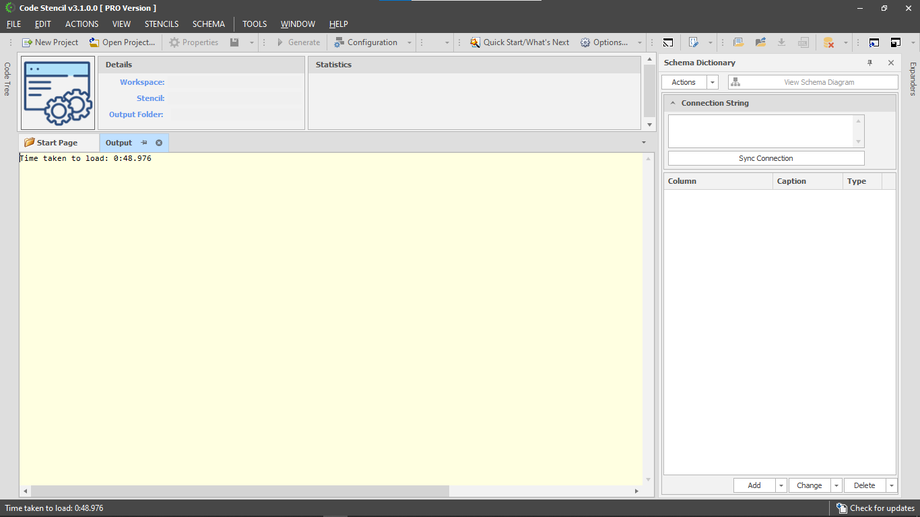
1.1. When you launch CodeStencil, the application will load the homepage.
Step 2: Navigating to the Help Section
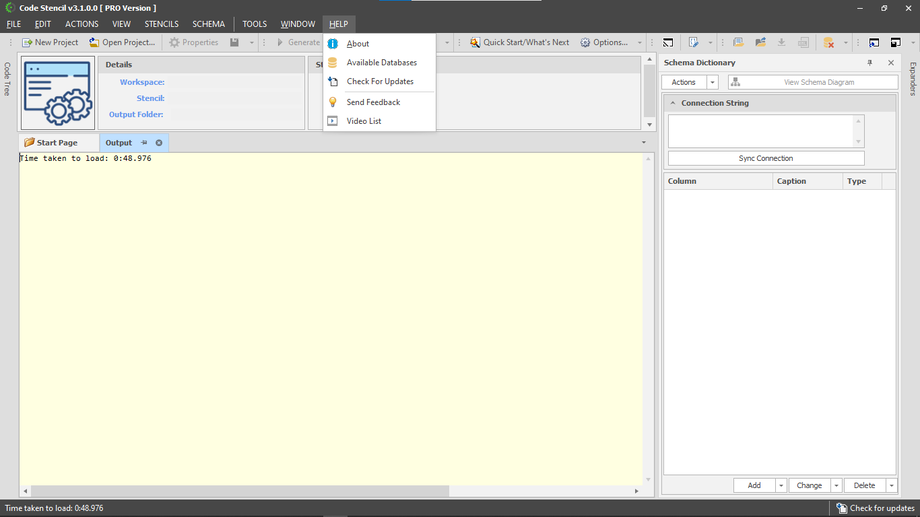
2.1. On the homepage, locate the "Help" navigation.
2.2. Click on the "Help" navigation to access its options.
Step 3: Displaying the License Key Input
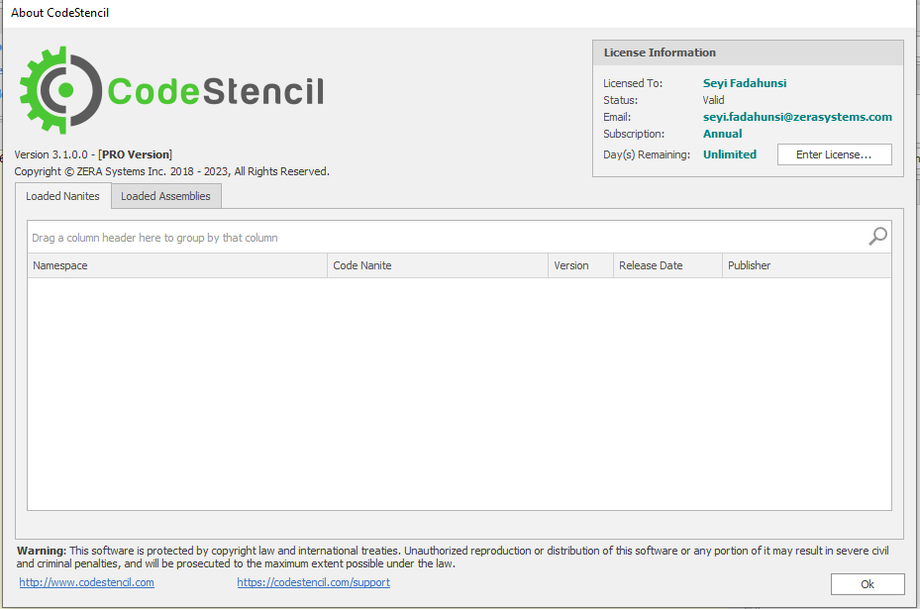
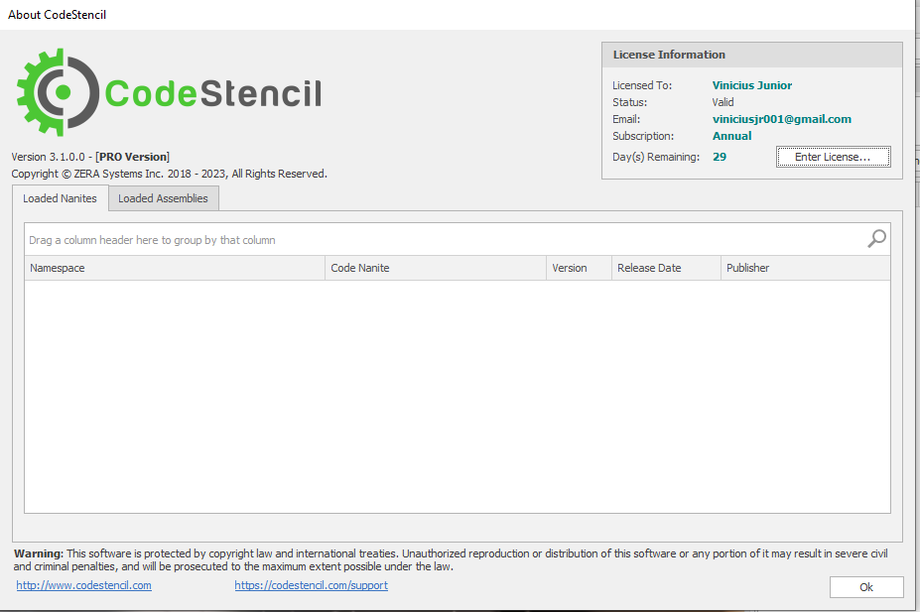
3.1. After clicking the "About" link, a dialog box or window will appear on the screen. This dialog contains various information about the application.
3.2. Within the "About" dialog, look for a button that allows you to display the input field for the license key. This button is labeled as "Enter License Key".
3.3. Click on the "Enter License Key" button to proceed. Also, take note of "Days(s) Remaining", this should change when you correctly input the license key.
Step 4: Entering the License Key
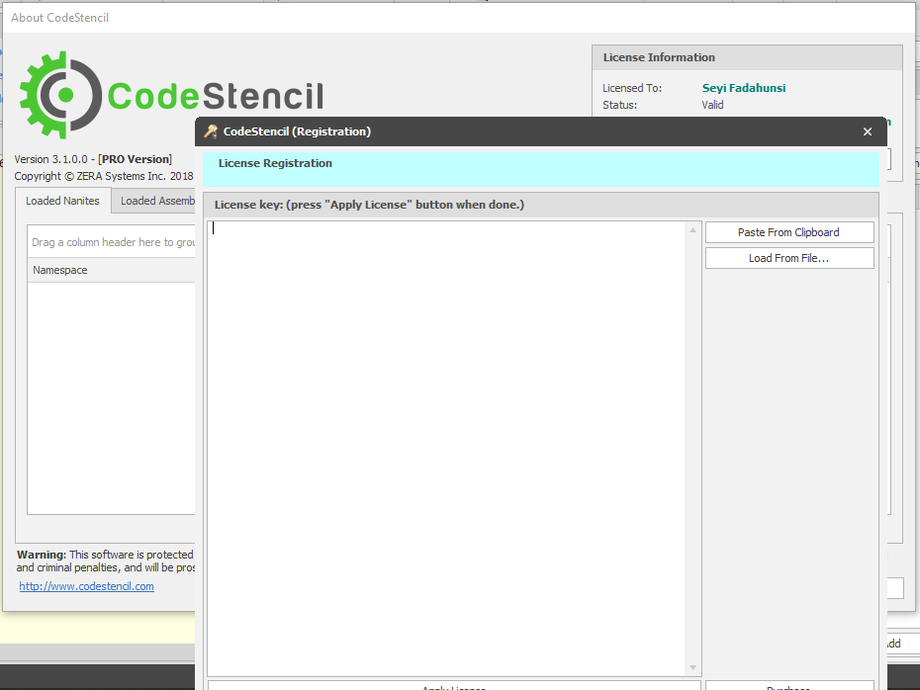
4.1. Once you click on the "Enter License Key" button, a new dialog will be displayed, where you can enter your license key.
4.2. Carefully type or paste your license key into the provided input field. Ensure that there are no extra spaces or characters.
4.3. Once you have entered the license key, click the "Apply License" button below in the dialog to continue.
Once you have successfully applied the license key, the "About" dialog should look like the image below;

